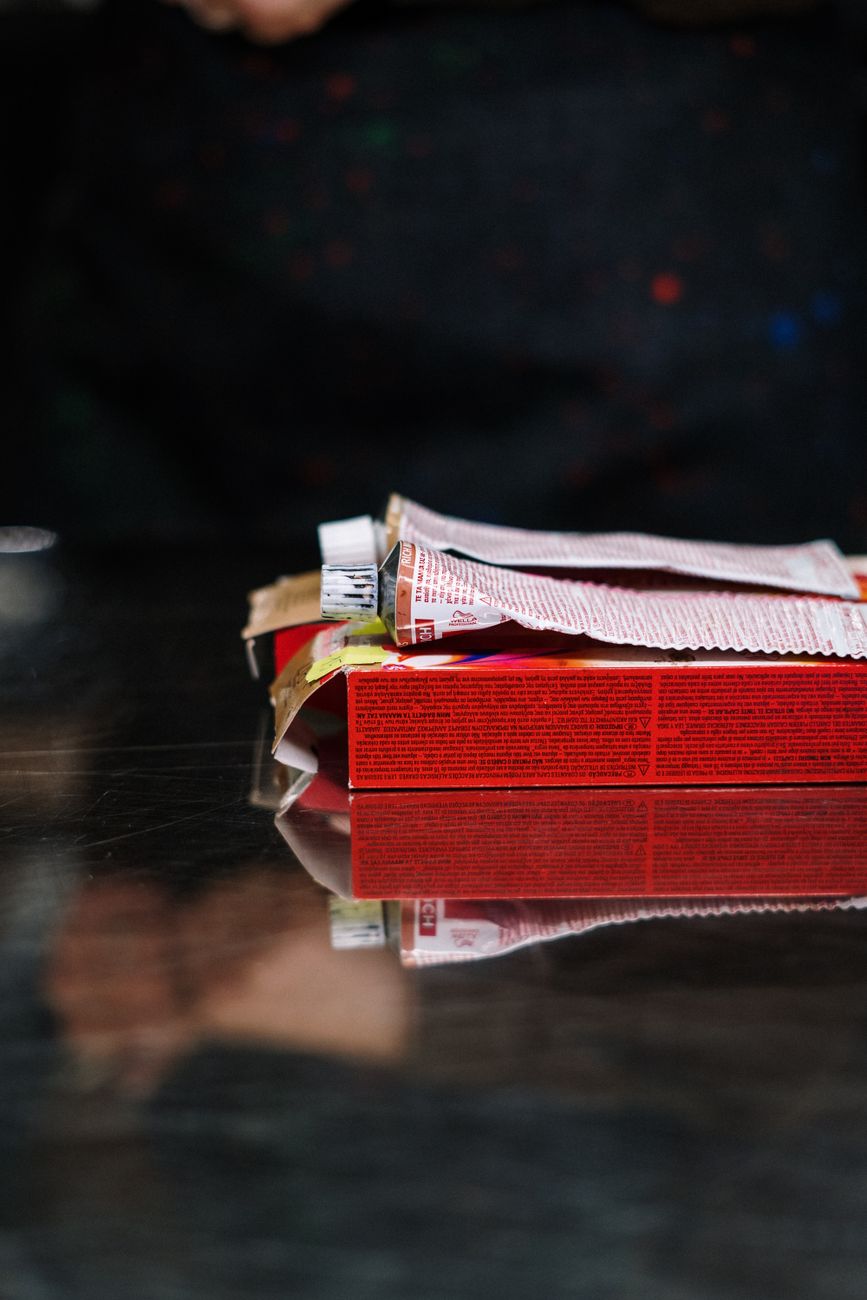
Box dye can seem like an easy way to refresh your color at home, but when the result is too dark, too warm, uneven, or simply different from what you expected, correcting it can become surprisingly complicated.
Color correction is not simply putting another color over the problem. A professional stylist must determine what artificial pigment is present, how the hair has been processed, and what the hair can safely tolerate before developing a correction plan.
At OP Hair Salon in Overland Park, our stylists approach box-dye corrections with careful assessment, realistic expectations, and customized techniques designed to improve color while protecting the integrity of your hair.
What Is a Box Dye Disaster?
A box-dye disaster can take many forms.
You may be dealing with:
- Hair that’s much darker than expected
- Orange or red tones
- Uneven color
- Patchy roots
- Dark bands
- Green or muddy tones
- Unexpected black sections
- Excessive gray coverage
- Color buildup
- Damaged or overly processed hair
Each situation requires a different solution.
Why Box Dye Can Be Difficult to Correct
Box color is formulated for broad use rather than your individual hair history.
Your hair may have:
- Previous permanent color
- Highlights
- Bleach
- Balayage
- Gray
- Porous ends
- Multiple layers of artificial pigment
When new box color is applied over those areas, the result can be unpredictable.
The First Rule of Color Correction: Stop Adding Color
If you’re unhappy with your box dye, the instinct may be to immediately apply another shade.
This can make the situation worse.
Repeated color applications can create:
- More pigment buildup
- Darker lengths
- Uneven saturation
- More complicated color removal
- Additional chemical stress
Before applying anything else, have your hair assessed.
Color Correction Starts With a Consultation
A professional consultation helps determine what actually happened.
Your stylist may ask:
- What color did you use?
- What brand was it?
- When did you apply it?
- How many times have you used it?
- Did you overlap previous color?
- Have you bleached your hair?
- Have you used highlights?
- Have you used henna or vivid colors?
Even an older color service can affect the correction.
Bring the Box or Product Information
If possible, bring the box, bottle, or a photo of the product you used.
Important information can include:
- Shade name
- Shade number
- Permanent vs. semi-permanent formula
- Developer strength
- Brand
- Application instructions
This gives your stylist useful information about the pigments that may be present.
What Your Stylist Evaluates
Before correcting the color, the hair may be assessed for:
- Natural level
- Artificial pigment
- Porosity
- Elasticity
- Density
- Breakage
- Previous chemical processing
- Uneven areas
- Desired target color
The condition of the hair is just as important as the color itself.
Color Correction Is Different From Regular Coloring
A standard color service may involve:
Existing color → desired color
A correction may involve:
Existing pigment → pigment reduction → underlying tone → new color → refinement
This is why corrective services can take longer.
Common Box Dye Problem #1: Hair Turned Too Dark
This is one of the most common complaints.
You expected medium brown but ended up with:
- Deep brown
- Almost black
- Flat brunette
- Darker-than-expected ends
Repeated applications can make this especially difficult.
A professional may evaluate whether pigment reduction is appropriate before attempting to create a lighter result.
Common Box Dye Problem #2: Orange Hair
Orange often appears when dark hair is lightened and underlying warm pigment becomes exposed.
The solution depends on the level and intensity of the orange.
A stylist may use:
- Toning
- Glossing
- Further controlled lightening
- Dimensional color
- A different target shade
The correct approach depends on the hair’s condition.
Common Box Dye Problem #3: Red Hair That Looks Too Bright
Red can be particularly difficult to remove because strong warm pigments can remain in the hair.
Applying a random brown over it may create a muddy or uneven result.
Professional correction allows the stylist to determine how much pigment needs to be reduced before creating the desired brunette or neutral tone.
Common Box Dye Problem #4: Patchy Color
Uneven application can create areas that are:
- Darker
- Lighter
- Warmer
- Cooler
- More saturated
A stylist may need to correct individual sections rather than applying one formula over the entire head.
Common Box Dye Problem #5: Dark Bands
Dark bands can occur when permanent color is repeatedly applied over the same areas.
The result may look like:
Dark root → lighter middle → very dark ends
Correcting the bands may require selective pigment reduction and careful rebalancing.
Common Box Dye Problem #6: Gray Coverage Is Too Dark
Some clients use dark box dye to cover gray and eventually find that the overall color has become much deeper than intended.
A professional may create a gradual plan to restore dimension without aggressively processing the entire head.
Common Box Dye Problem #7: Unexpected Green or Muddy Color
Unwanted green or muddy tones can develop when certain pigments interact with existing undertones.
This is particularly complicated when lightened hair is involved.
The correction requires identifying the underlying tone before choosing a neutralizing formula.
Common Box Dye Problem #8: Roots and Ends Don’t Match
The roots may respond differently because they have less accumulated pigment.
The ends may contain several layers of previous color.
This can result in:
- Lighter roots
- Darker ends
- Uneven warmth
- Different tonal intensity
A professional can formulate for each area instead of treating everything identically.
What Is a Color Remover?
A color remover may be used to reduce certain types of artificial oxidative pigment.
It isn’t the same as bleach and doesn’t necessarily restore your original natural color.
What remains underneath depends on your previous color history.
What Is Lightener?
Lightener can lift both natural and artificial pigment.
It may be necessary when the goal is significantly lighter than the existing color.
However, lightener is a chemical service that must be used carefully, particularly on previously processed hair.
Color Remover vs. Bleach
These are different tools.
Color Remover
May help reduce certain artificial pigments.
Lightener
Can create greater lifting action and expose underlying pigment.
A professional determines which approach is appropriate—or whether either is appropriate at that stage.
Why Strand Tests Matter
A strand test can show how your hair responds before the entire head is processed.
It can help determine:
- How much pigment can be removed
- What underlying tone appears
- How quickly the hair processes
- Whether the desired result is realistic
- Whether the hair can tolerate additional chemical work
This information can be extremely valuable during complicated corrections.
Why Porosity Changes Everything
Hair doesn’t always behave uniformly.
Previously bleached or damaged sections may be more porous than the roots.
Porous areas may:
- Absorb color rapidly
- Become darker
- Grab cool pigments
- Release color quickly
- Process unpredictably
A professional correction takes these differences into account.
Why Elasticity Matters
Elasticity indicates how the hair responds to stretching and returning to its original shape.
If hair is already compromised, aggressive lightening may not be appropriate.
A stylist may recommend:
- Conditioning treatments
- Bond-supporting services
- A darker temporary goal
- Delaying further lightening
- Gradual correction
Can a Box Dye Disaster Be Fixed in One Appointment?
Sometimes.
But not always.
The timeline depends on:
- Current color
- Desired result
- Number of previous applications
- Type of pigment
- Hair condition
- Unevenness
- Previous bleaching
Some corrections can be completed in one session, while others require multiple appointments.
Why Multiple Sessions Can Be Safer
A gradual correction allows your stylist to:
- Remove pigment progressively
- Monitor hair condition
- Correct uneven areas
- Adjust the target shade
- Reduce unnecessary overlap
- Refine the final tone
Trying to force a dramatic transformation in one appointment can create unnecessary stress on the hair.
What Happens During a Professional Color Correction?
Step 1: Consultation
Your stylist discusses what happened and what you want to achieve.
Step 2: Hair and Color Assessment
The stylist evaluates the existing color and condition.
Step 3: Goal Setting
A realistic target is established.
Step 4: Strand Testing
When appropriate, a small section may be tested.
Step 5: Pigment Reduction or Controlled Lightening
The appropriate corrective technique is selected.
Step 6: Reassessment
The hair is evaluated after the first stage.
Step 7: Color Refinement
A customized color, gloss, or toner may be applied.
Step 8: Final Styling
The result is styled so the stylist can evaluate the finished color and dimension.
Why the Desired Color May Need to Change
Sometimes your dream shade isn’t immediately achievable.
For example:
Black box dye → platinum blonde
may require several stages.
Your stylist might recommend:
Black → dark brunette → medium brunette → bronde → blonde
Each stage can provide a healthier path toward the long-term goal.
Warmth Is Often Part of the Process
When dark artificial color is reduced, underlying warmth may appear.
You may see:
- Red
- Copper
- Orange
- Gold
- Yellow
This doesn’t necessarily mean the correction failed.
These colors can be part of the underlying pigment revealed during lightening.
Toning Comes After the Appropriate Level Is Reached
Toner is not a substitute for lightening.
If hair isn’t light enough for the desired blonde or brunette, simply adding a cool toner won’t necessarily create the final shade.
The hair must first reach an appropriate foundation.
Why Repeated DIY Fixes Make Correction Harder
Each additional product adds information—and pigment—to the hair.
Trying:
Box dye → toner → color remover → another box dye → bleach
can create a complicated color history.
The more unpredictable the history, the harder it becomes to determine how the hair will respond.
Don’t Assume “Natural” Means Easy to Remove
Some at-home products marketed as natural, botanical, or gentle can still contain pigments that affect future color services.
Always tell your stylist what you’ve used.
Henna Requires Special Attention
If you’ve used henna or unknown herbal color products, tell your stylist before any corrective service.
The stylist may need to take additional precautions before attempting chemical lightening.
How to Protect Your Hair During Correction
Your stylist may recommend:
- Conditioning treatments
- Bond-supporting services
- Reduced heat styling
- Gentle cleansing
- Regular trims
- Delaying additional chemical services
The healthiest correction plan considers the condition of the hair at every stage.
Home Care After Color Correction
Your home routine can influence how long the corrected color lasts.
Consider:
- Color-safe shampoo
- Regular conditioning
- Heat protection
- Cooler water
- Limited heat styling
- UV protection
- Professional maintenance appointments
Follow your stylist’s recommendations for your specific color.
What Not to Do After a Correction
Avoid immediately experimenting with:
- New box dyes
- Bleach
- Strong color removers
- Multiple toners
- Permanent color overlap
Give the corrected color time to stabilize and follow the maintenance plan provided by your stylist.
Common Color Correction Mistakes
Trying to Fix It With Another Box Dye
This often adds more pigment.
Bleaching the Entire Head
Unnecessary lightening can compromise healthy sections.
Ignoring the Hair’s Condition
Color goals must be balanced with hair integrity.
Expecting One Universal Formula
Different sections may require different approaches.
Skipping a Consultation
A proper assessment helps establish realistic expectations.
Hiding Your Color History
Previous products can dramatically affect the correction.
When to See a Professional Immediately
Consider professional evaluation if your hair has:
- Severe unevenness
- Major color banding
- Significant orange or red tones
- Multiple layers of black dye
- Previous bleach underneath dark color
- Signs of breakage
- Extremely porous ends
- An unexpected chemical reaction
The sooner the hair is assessed, the easier it may be to create a controlled plan.
Questions to Ask During Your Consultation
Ask your stylist:
- What caused my color problem?
- What artificial pigments are present?
- Can the color be corrected in one appointment?
- Will we need a color remover?
- Will lightener be necessary?
- What should I realistically expect after the first session?
- How can we protect my hair?
- What home care should I use?
- How long should I wait before the next appointment?
The Safest Color Correction Is a Customized One
There is no universal box-dye rescue formula.
The best approach considers:
Color history + existing pigment + hair condition + desired result + maintenance goals
This allows your stylist to build a correction strategy instead of guessing.
Prevention Is Easier Than Correction
Once your color is repaired, discuss a maintenance plan.
Your stylist may recommend:
- Professional root touch-ups
- Glossing
- Gray blending
- Balayage
- Highlights
- Lowlights
- Color-safe home care
- Scheduled refresh appointments
A personalized plan can help prevent the cycle of repeated at-home corrections.
Why Choose OP Hair Salon?
At OP Hair Salon in Overland Park, we understand that color correction requires more than choosing another shade from a color chart.
Our stylists evaluate your color history, artificial pigment, porosity, elasticity, and desired result before creating a customized correction plan. Whether you’re dealing with overly dark box dye, orange tones, uneven color, banding, or an unexpected shade, we’ll help determine what can realistically be achieved while prioritizing the condition of your hair.
Made a box-dye mistake? Don’t reach for another box. Schedule a color-correction consultation at OP Hair Salon in Overland Park and let a professional assess your hair before the next step.
Leave a Reply